If you’re new to SERPChecker, our SERP analysis tool, this simple, step-by-step guide is a great place to start.
We’ll go through these main topics:
Basics
SERPChecker is a Google SERP analysis tool with 45+ SEO metrics including the SEO difficulty, Link profile strength, Moz, Majestic and social metrics.
With this tool, you can see all strengths and weaknesses of your competitors, evaluate SERP positions, compare your website with competitors and detect Google SERP features influencing the organic search results engagement.
In case you aren’t registered, you can create a FREE trial to test the tool.
Just in case you are not familiar with the topic, Google SERP is a Search Engine Results Page which is displayed by search engines every time you submit a search query. Find out more about the SERP in our dedicated article – What is SERP?
Research
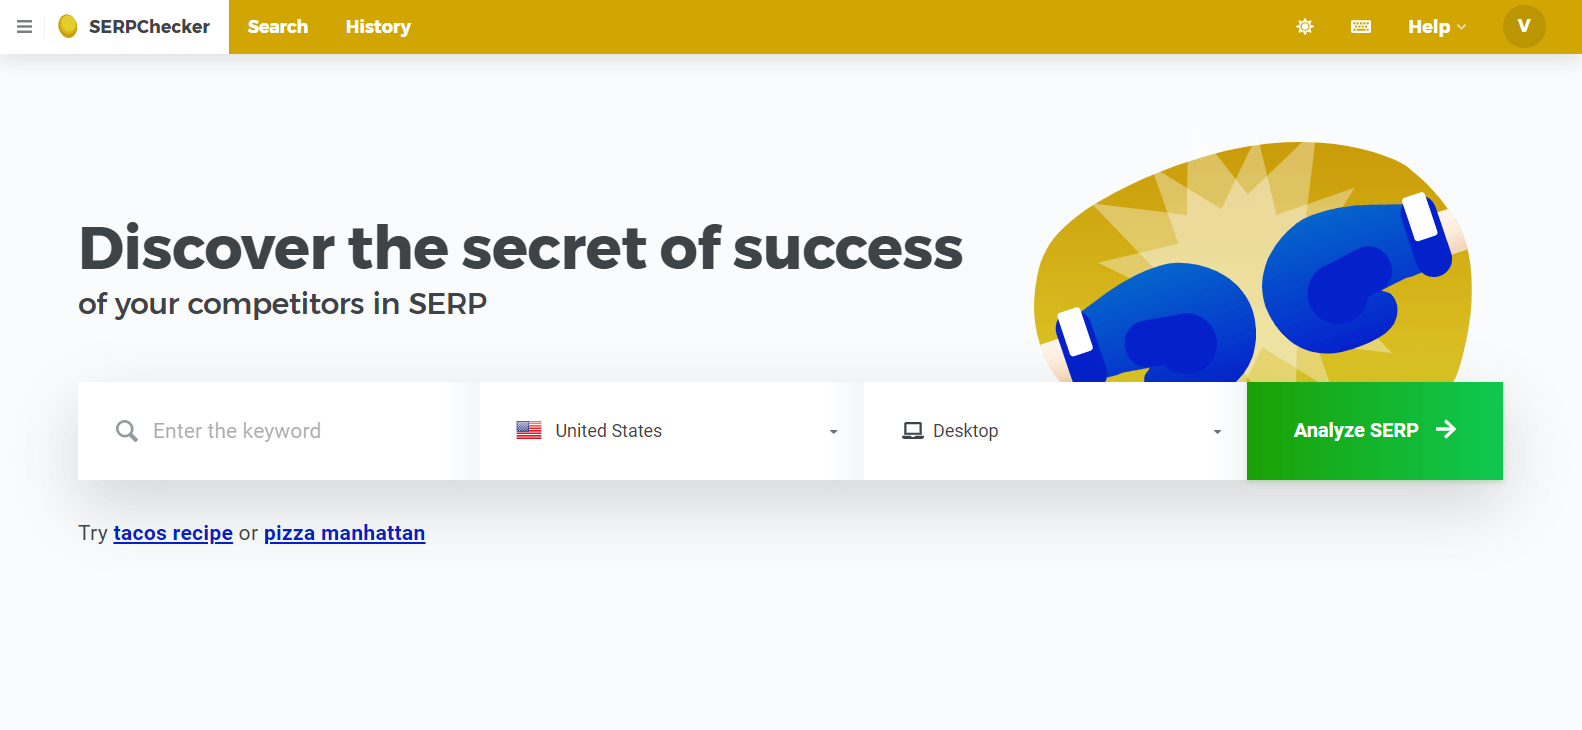
Let’s say we would like to see results for the term „seo“ in the US. Type it in the form, select the desired country and hit the button „Analyze SERP“. There’s an option to choose between the “Desktop“ or “Mobile“ view.
Quick tip:
Desktop results in Google SERP are usually different from the ones in the mobile view.
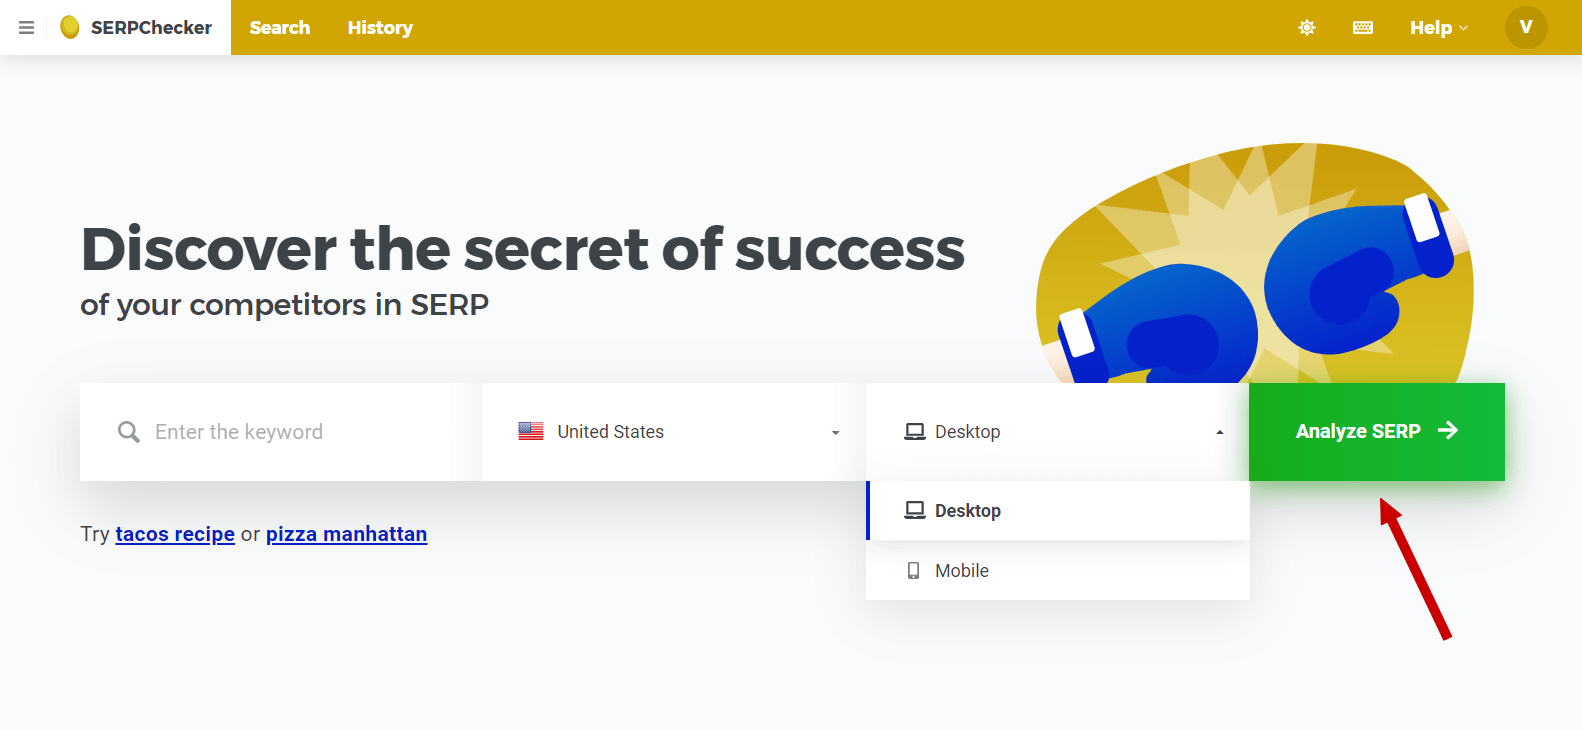
SERPChecker search form, location and device options
Quick tip:
If you would like to inspect the keyword further, head over to KWFinder.
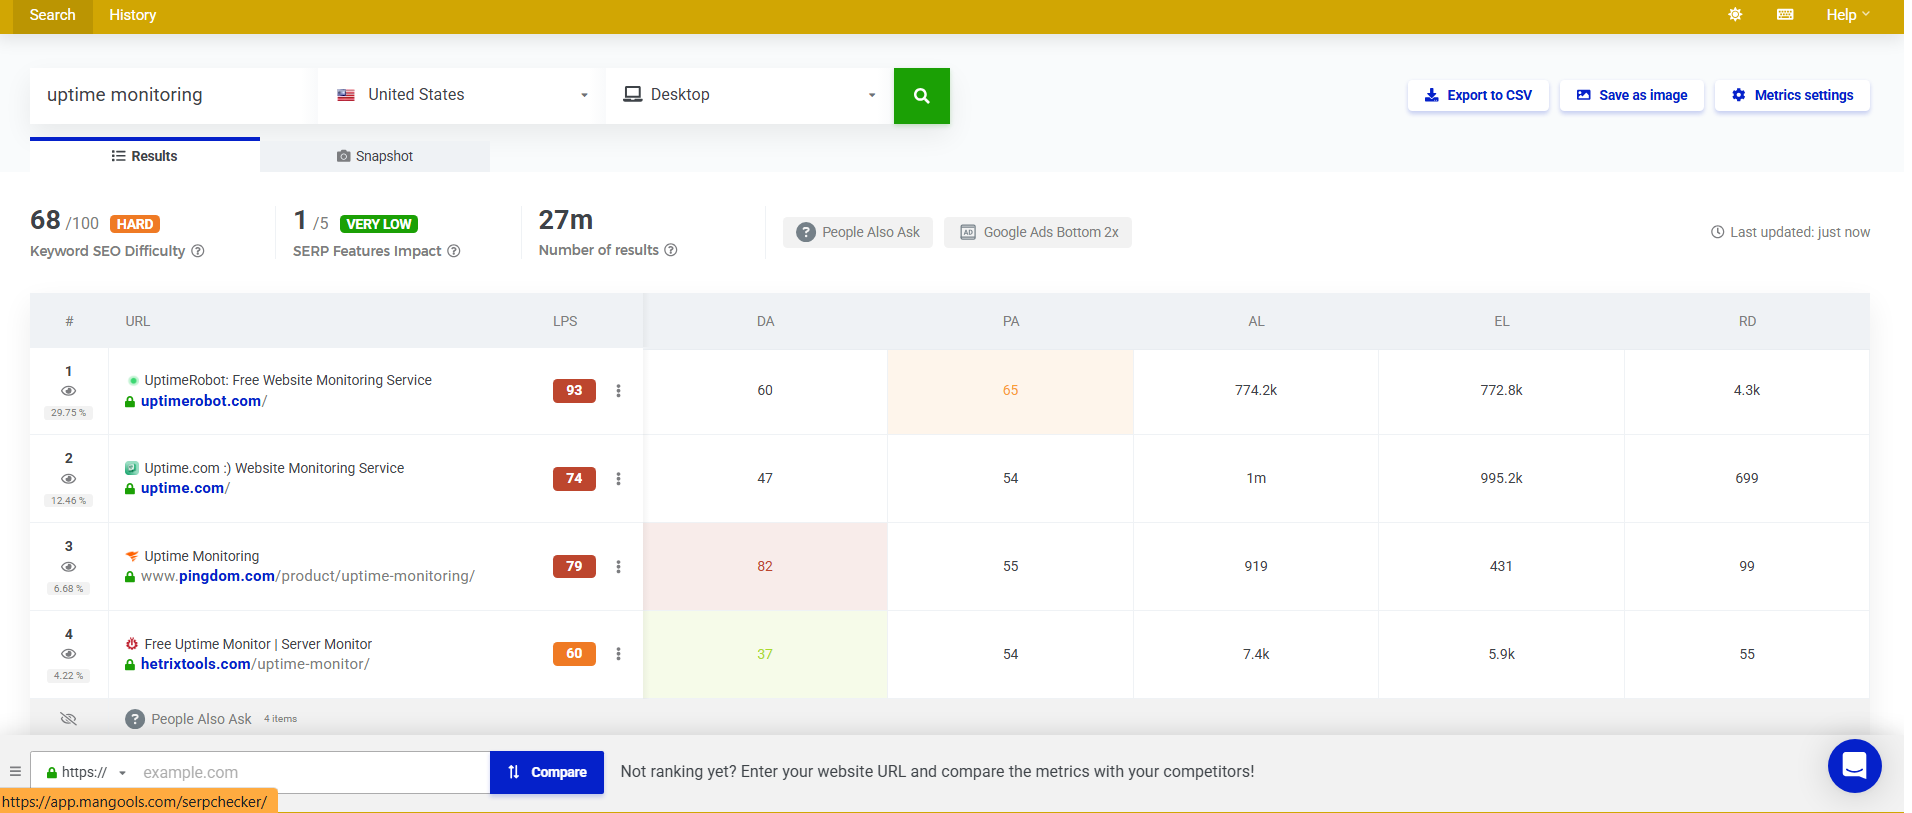
The SERPChecker results page looks like this:
Managing the SEO metrics
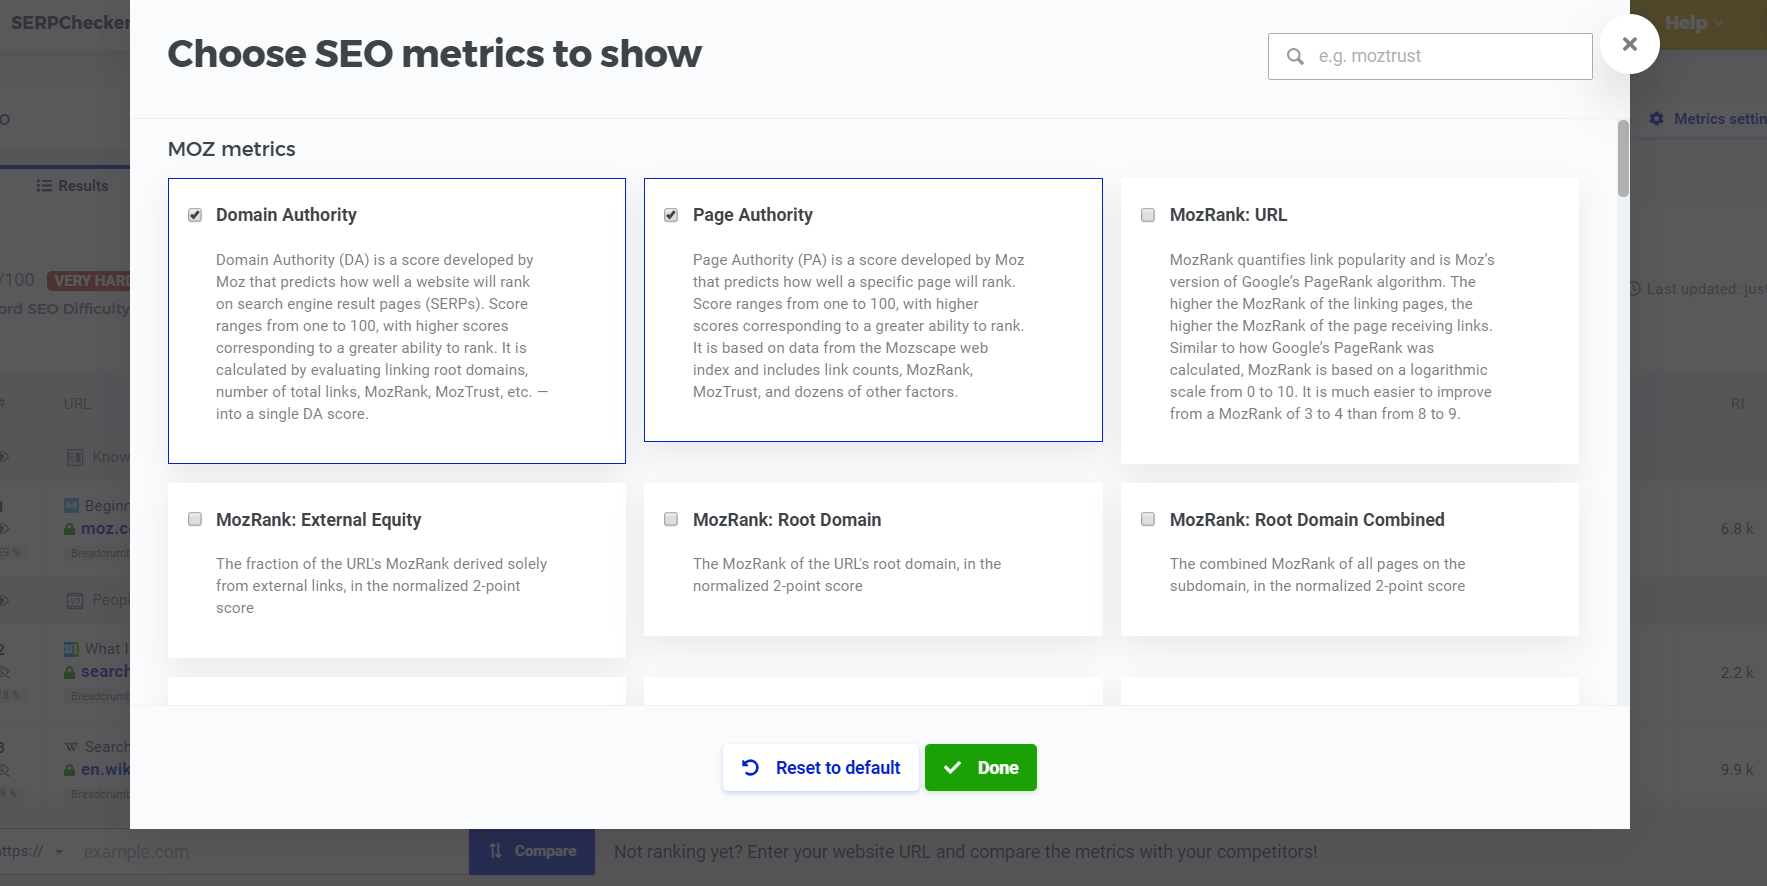
Next to the URLs, you can see the metrics. Select the ones you’re interested in by clicking on the blue button in the top-right corner “Manage metrics“.
Once you click, a pop-up window appears. Tick the ones you would like to have in the report and hit “Done”. There are short explanations of what each metric represents.
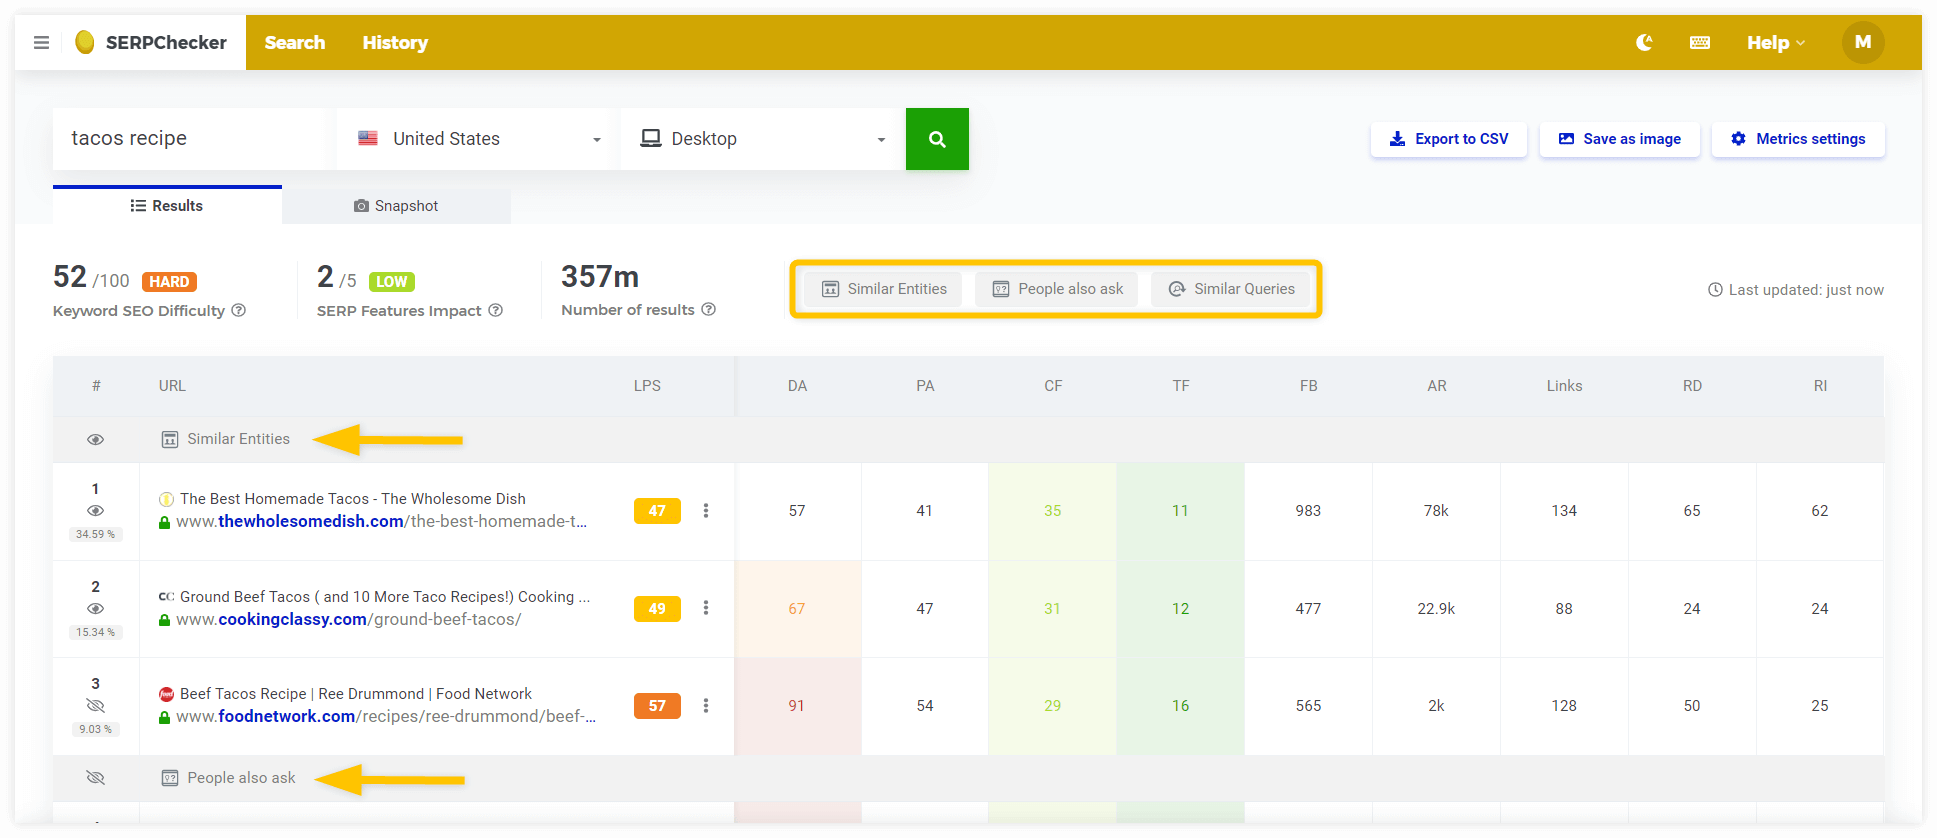
In the screenshot below, there’s the default metrics screen. All values are colored so we can easily identify what’s behind the numbers. Green color represents a low value while red means high.
SERP features analysis
We also display SERP features such as featured snippets, answer boxes, related searches, carousels, image packs and tens of other enhanced results in SERPChecker.
You’ll see them both in the results table and in the Snapshot preview depending on their actual visual position. All SERP features appearing in the SERP are listed in the row above the results table.
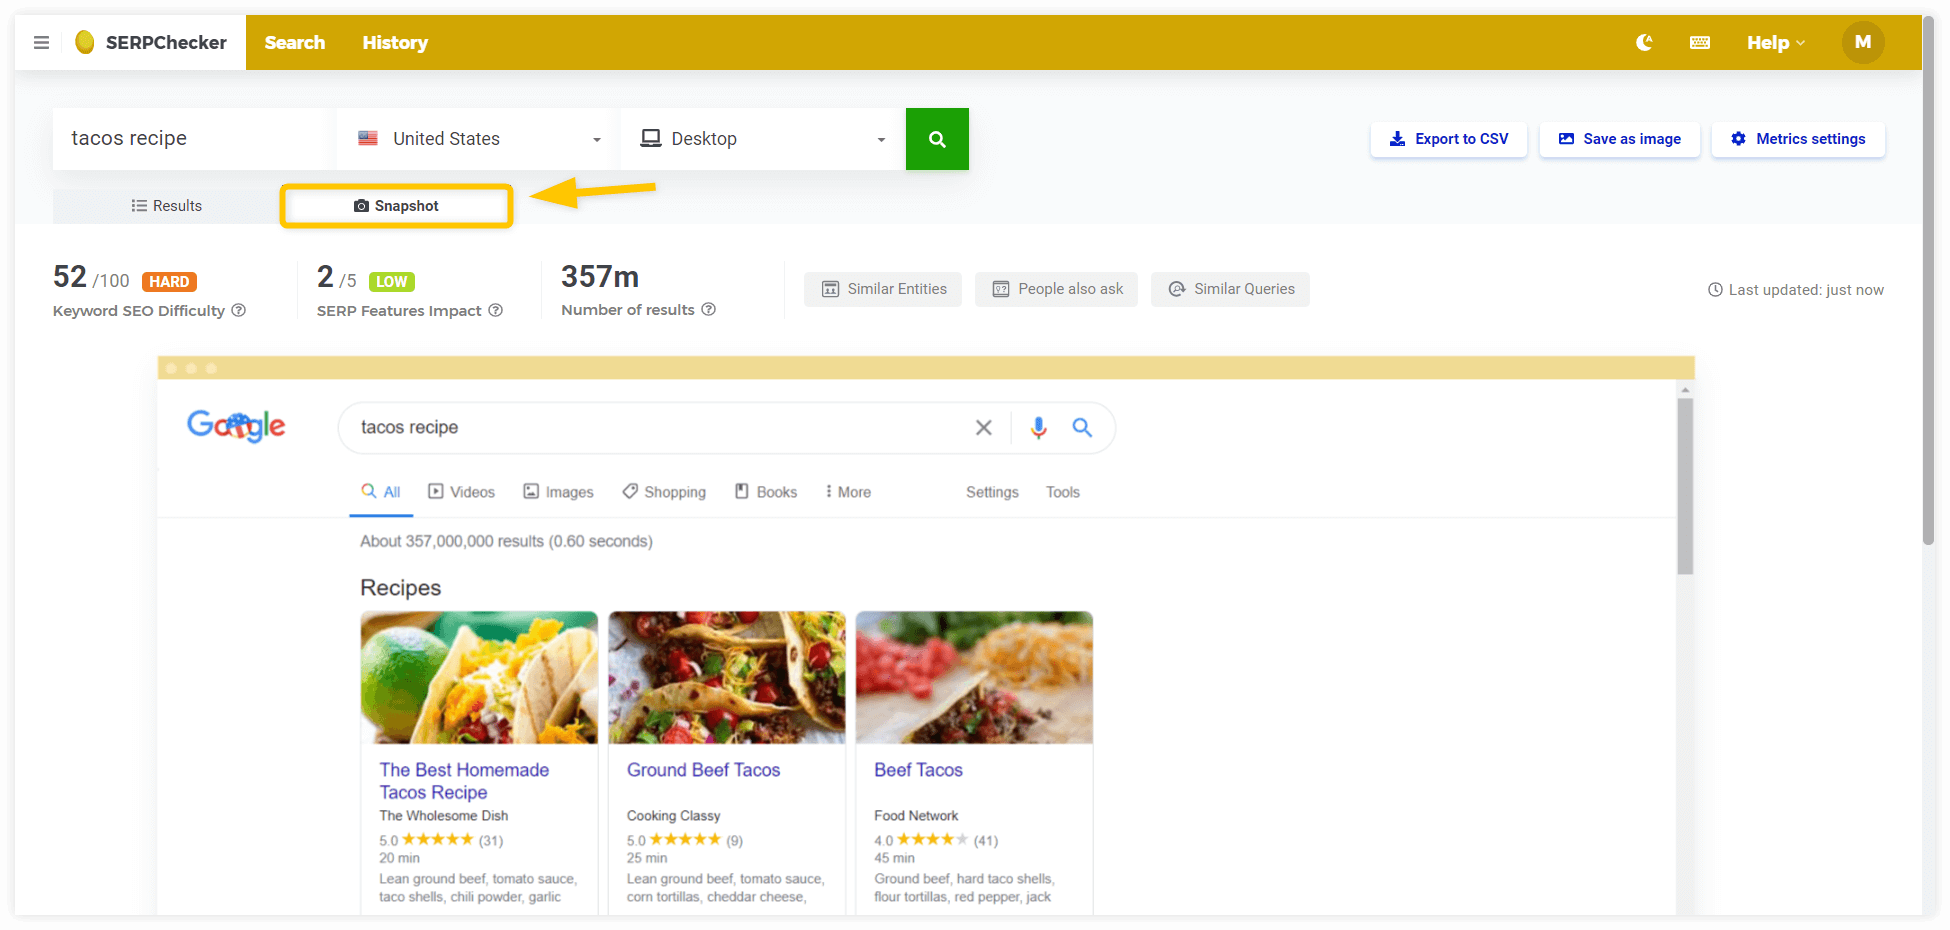
Besides the results table, you can switch the view to “Snapshot” to see the representation of the actual SERP.
Here’s what it looks like:
SERP features and enhanced results are more visually appealing than the generic organic search results. They can significantly influence the organic results engagement.
We have 3 useful indicators to help you estimate the impact:
- SERP Features Impact measures the possible impact of SERP features on organic results engagement on a scale from 1 to 5. The higher is the impact, the lower is the engagement.
- Visibility of each organic search result (including SERP features) above the page fold measured using the most common screen resolution.
- CTR based on the benchmark data; the actual CTRs may be affected by SERP features.
Compare box
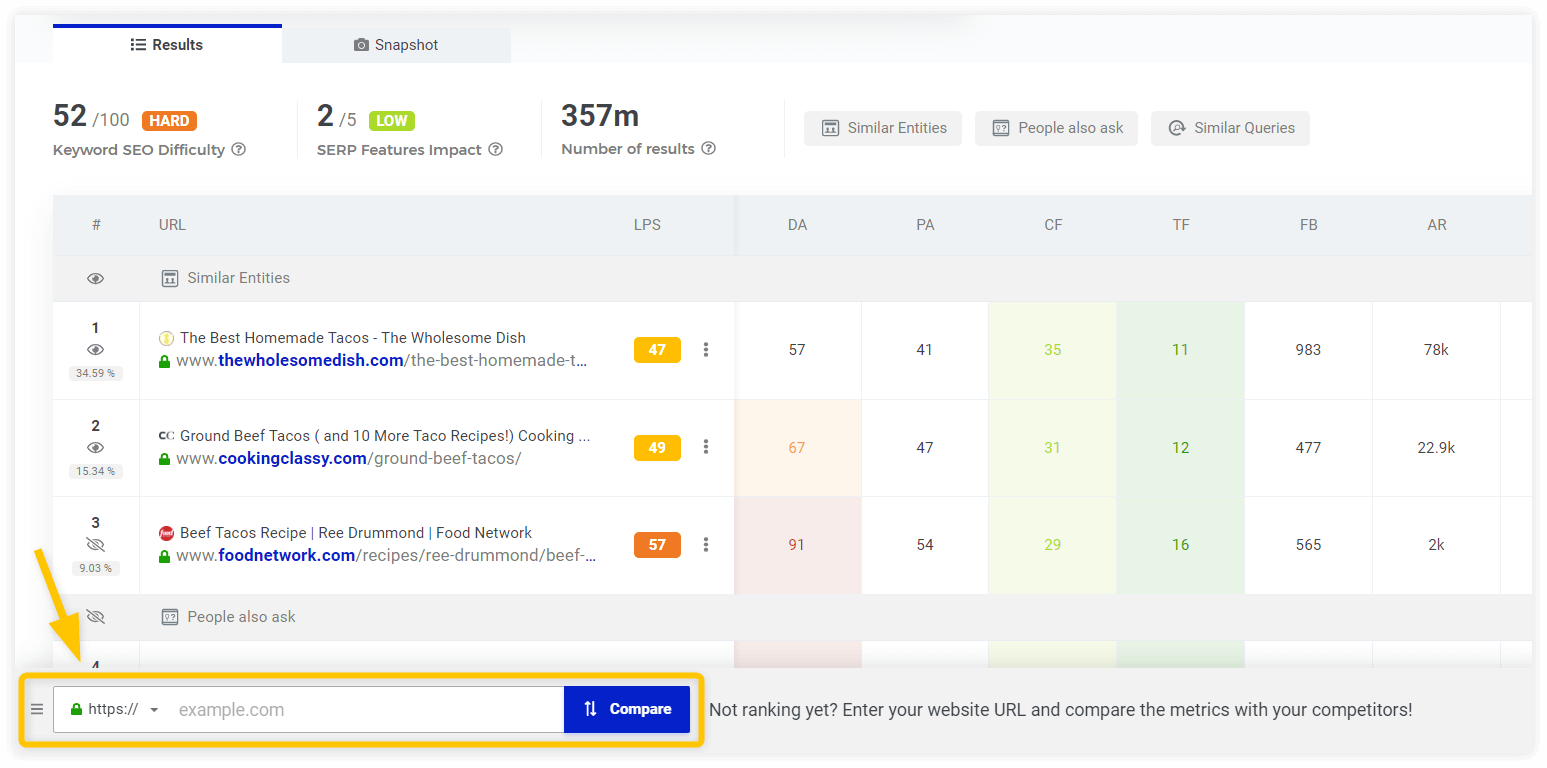
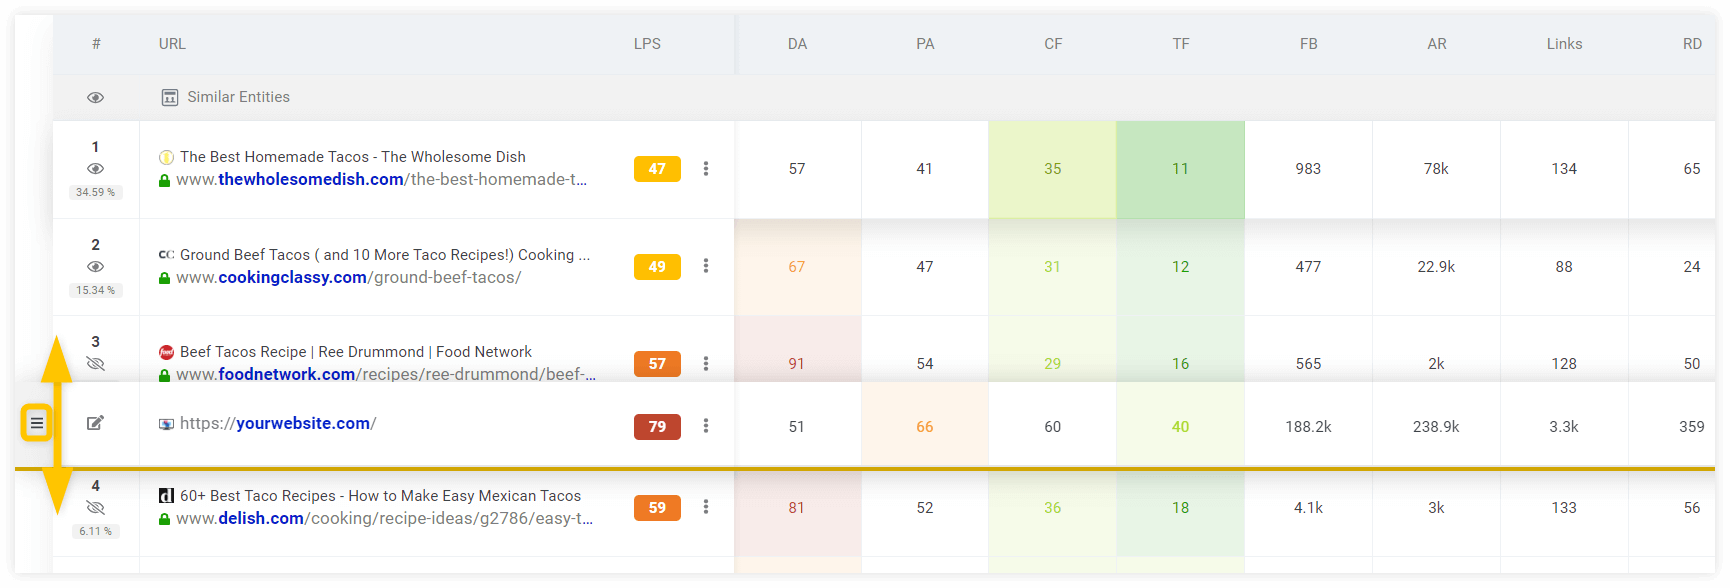
With this feature, you can easily compare your website with any of the competitors in Google SERP.
Enter your domain or URL, drag the Compare row where you need and find out how you stand.
Export/save as image
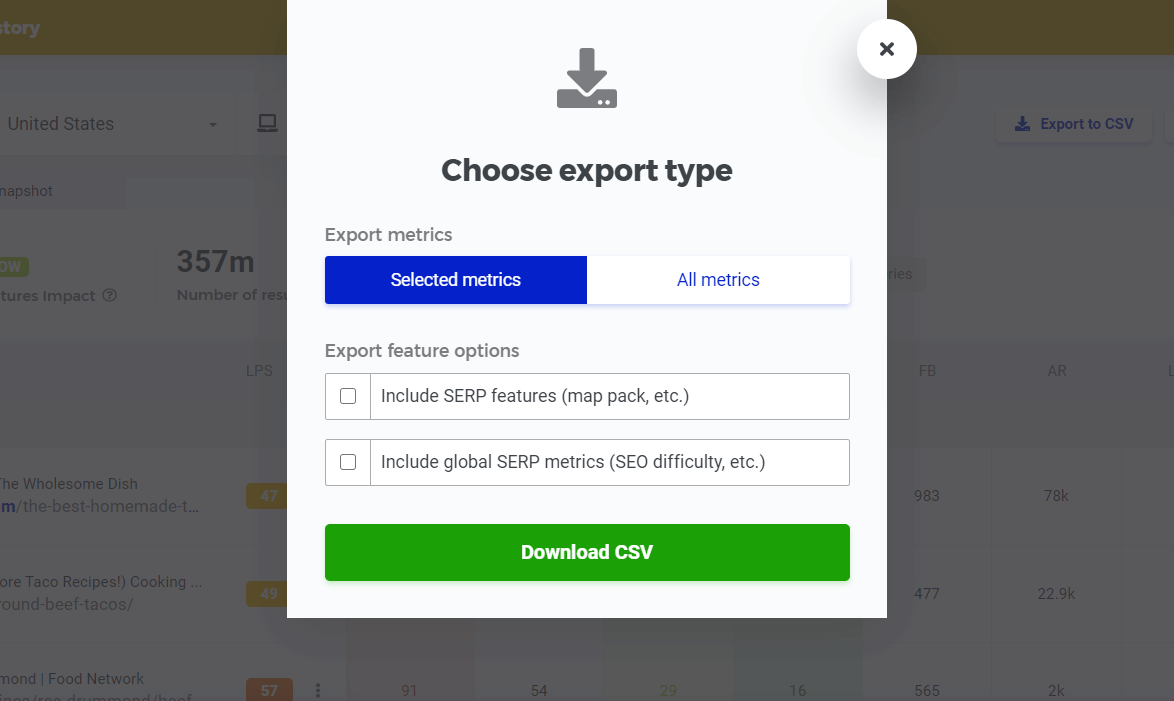
In case you plan to save your analysis results, just click on the blue button in the top-right corner “Export results” and download a CSV file. You can also save the whole SERP snapshot as a png image.
You can export all the metrics or only the selected ones.
Conclusion
That’s it, we are at the end of the guide. We hope you enjoyed the reading at least as much as we enjoyed the writing. Now you have all the information to perform a supercharged SERP analysis.
Didn’t find what you were looking for?
If you have any questions or tips what to include in the guide, feel free to share them in the comments below. In case you still have troubles using SERPChecker, don’t hesitate to ask via live chat or email.


